
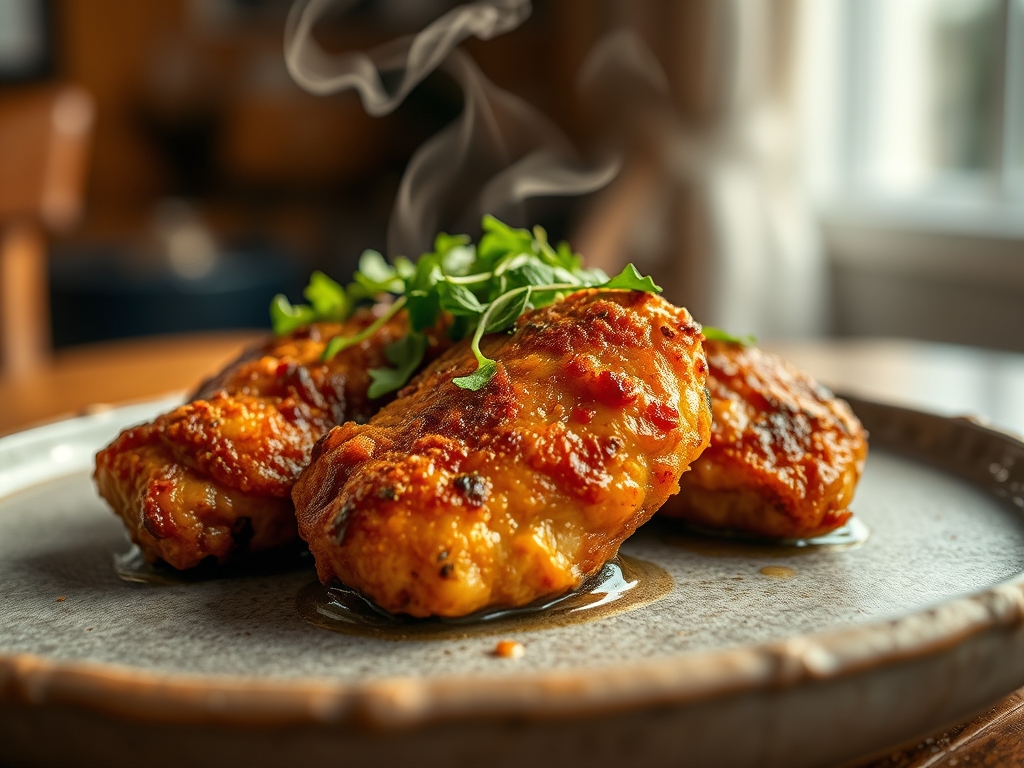
Listen to that sound. It is the rhythmic, aggressive crackle of subcutaneous lipids surrendering to the relentless heat of a cast iron surface. This is not merely cooking; it is an architectural feat where we construct a rigid, golden exoskeleton over a core of succulent, shimmering protein. We are here to master Crispy Chicken Thighs. If your current results are flaccid, pale, or structurally unsound, you are not just failing a recipe; you are failing the laws of thermodynamics. To achieve the perfect sear, we must treat the skin as a thermal guard, a sacrificial layer that undergoes the Maillard reaction to protect the interior moisture. We are aiming for a texture so audible it disrupts conversation. We want a skin that shatters like glass while the meat beneath remains a reservoir of savory juices. This is the gold standard of domestic culinary infrastructure. Prepare your workstation. We are about to engage in high-output searing that turns a humble bird into a masterpiece of crispy engineering.
THE DATA MATRIX
| Metric | Specification |
|---|---|
| Prep Time | 15 Minutes |
| Execution Time | 25 Minutes |
| Yield | 4 Servings |
| Complexity (1-10) | 4 |
| Estimated Cost per Serving | $2.50 – $3.50 |
THE GATHERS
Ingredient Protocol:
- 8 Bone-in, Skin-on Chicken Thighs (approx. 1.2kg / 2.6 lbs)
- 15g / 1 tbsp Kosher Salt
- 5g / 1 tsp Freshly Cracked Black Pepper
- 30ml / 2 tbsp High-Smoke Point Oil (Avocado or Grapeseed)
- 45g / 3 tbsp Unsalted Butter
- 4 Sprigs Fresh Thyme
- 3 Cloves Garlic, crushed
Section A: Ingredient Quality Audit:
The primary failure point in poultry procurement is excess surface moisture. If your chicken arrives in a vacuum-sealed bag sitting in a pool of pink liquid, the skin cells are likely saturated. This prevents the render phase and leads to steaming. Fix: Perform a "Dry Brine" by salting the skin and leaving it uncovered in the refrigerator for 4 to 24 hours. This uses osmosis to pull moisture out, allowing the salt to infuse the muscle fibers while desiccating the skin for maximum crunch. If the fat pad is excessively thick, use a sharp boning knife to trim the overhang, or the grease will pool and shallow-fry the meat rather than searing the skin.
THE MASTERCLASS
Step-by-Step Execution:
1. Thermal Calibration and Surface Prep
Ensure your protein has reached an ambient temperature of approximately 20C / 68F. Use a digital scale to measure your salt precisely; consistency is the hallmark of the professional. Pat the skin with industrial-grade paper towels until the surface is matte.
Pro Tip: Cold meat hitting a hot pan causes the protein fibers to contract violently, squeezing out moisture. By tempering the meat, you ensure a relaxed cellular structure that retains its viscous juices.
2. The Cold-Start Deployment
Place the thighs skin-side down in a cold, heavy-bottomed stainless steel pan or cast iron skillet. Only then, turn the heat to medium-high. This allows the fat to render slowly as the pan heats, preventing the skin from shrinking away from the bone.
Pro Tip: Using a saucier or a heavy skillet for this method ensures even heat distribution. Starting cold prevents the "thermal shock" that leads to curled, uneven skin.
3. Weight Integration and Compression
To ensure 100% surface contact, place a secondary heavy pan or a foil-wrapped brick on top of the thighs. This flattens the geometry of the bird, ensuring every millimeter of the skin undergoes the Maillard reaction simultaneously.
Pro Tip: Professional chefs often use a bench scraper to move bits of fond or to check the level of crust without tearing the delicate skin layers.
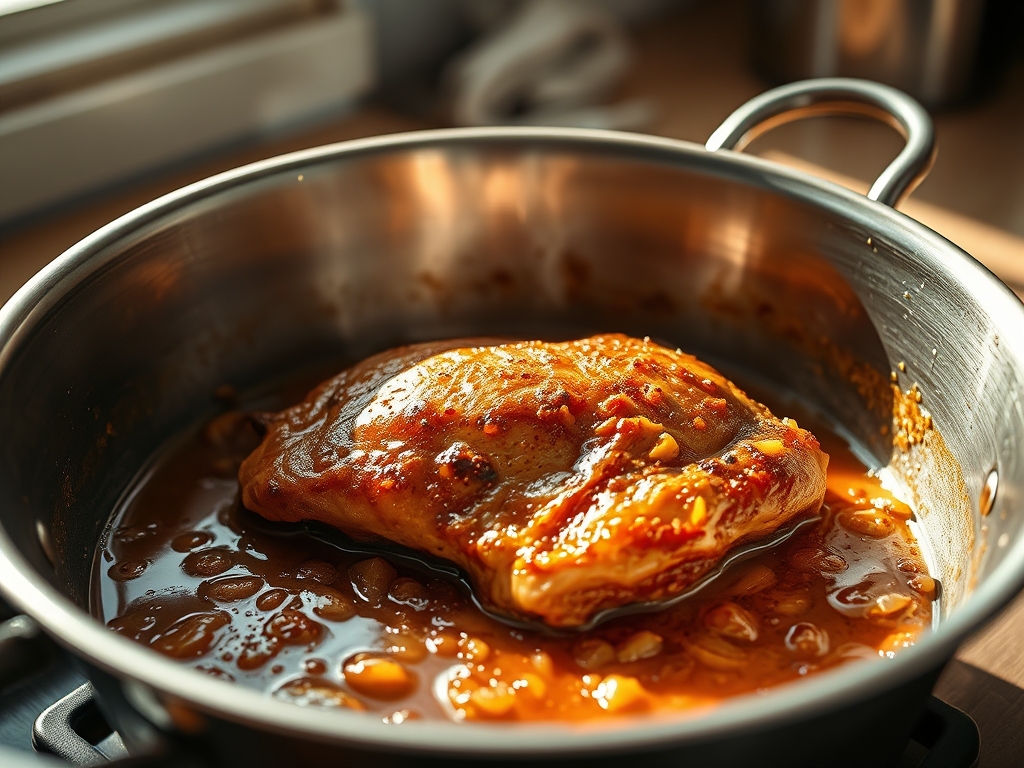
4. The Butter Baste and Aromatic Infusion
Once the skin is a deep, mahogany brown, flip the thighs. Reduce heat to medium. Add the butter, garlic, and thyme. As the butter begins to foam, tilt the pan and use a large spoon to continuously bathe the skin in the hot, flavored fat.
Pro Tip: This process, known as arroser, uses the butter to infuse the meat with herbaceous notes while the milk solids brown, adding a piquant nuttiness to the final profile.
5. Final Internal Verification
Transfer the pan to a preheated oven at 200C / 400F for 8 to 10 minutes. Use a digital probe thermometer to ensure the internal temperature at the thickest part of the thigh reaches 74C / 165F.
Pro Tip: Unlike breasts, thighs benefit from a slightly higher finish (up to 79C / 175F) because the connective tissue requires more heat to break down into gelatin, resulting in a superior mouthfeel.
Section B: Prep & Timing Fault-Lines:
The most common human error is "Pan Crowding." If you place eight thighs in a 10-inch skillet, the ambient temperature drops instantly, and the moisture released from the meat has nowhere to go but up. This creates a steam tent. Fix: Work in batches or use two pans. Another timing error is flipping too early. If the meat resists the flip, the proteins are still bonded to the metal. Wait for "Self-Release," which occurs once the crust has fully formed.
THE VISUAL SPECTRUM
Section C: Thermal & Visual Troubleshooting:
Referencing the Masterclass photo, your target is a "Uniform Amber Shield." If your chicken looks "Spotty or Pale," your pan was likely not level or the heat was too low, preventing the fat from circulating under the skin. If the skin is "Blackened but the meat is raw," your heat was too high; the exterior carbonized before the interior could conduct heat. Fix: Use a lower flame and more consistent basting. If the skin looks "Dull or Matte" rather than shiny, you lacked sufficient fat during the basting phase. A proper sear should have a lustrous, viscous sheen from the rendered fat and butter.
THE DEEP DIVE
Macro Nutrition Profile:
A standard serving of two crispy thighs contains approximately 480 calories. You are looking at 34g of protein and 36g of fat. While high in lipids, the majority of the saturated fat is rendered out during the cooking process, leaving behind a concentrated source of energy and essential amino acids.
Dietary Swaps:
- Keto: This recipe is inherently keto-compliant. Serve with a side of deglaze-fortified spinach.
- Vegan: Replace chicken with thick-cut "steaks" of King Oyster mushrooms. Use vegan butter and ensure a heavy press to mimic the skin texture.
- GF: Naturally gluten-free. Ensure your salt and spices are not processed with anti-caking agents containing wheat.
Meal Prep & Reheating Science:
To maintain the molecular integrity of the crispy skin, never reheat in a microwave. The microwave agitates water molecules, which migrate from the meat to the skin, turning your "glass" into "rubber." Instead, use an air fryer or toaster oven at 190C / 375F for 5 minutes. This re-activates the surface fats and restores the crunch.
THE KITCHEN TABLE
Why is my chicken skin rubbery?
You likely trapped steam by covering the pan or crowding the thighs. Surface moisture is the enemy of the crunch. Always ensure the skin is bone-dry before it touches the hot oil.
Can I use boneless thighs?
Yes, but the bone acts as a thermal conductor and structural stabilizer. Boneless thighs cook faster but are more prone to shrinking and curling, which can disrupt the uniformity of your sear.
What oil is best for searing?
Use oils with high smoke points like avocado or grapeseed. Avoid extra virgin olive oil for the initial sear, as its low smoke point will cause it to break down and taste bitter.
Do I need to wash the chicken?
Absolutely not. Washing poultry aerosolizes bacteria across your kitchen infrastructure. Use paper towels to pat the meat dry and dispose of them immediately to maintain a sterile environment.

