
Stop thinking about the bakery on the corner and start thinking about the structural integrity of your kitchen counter. We are entering the realm of the No Knead Bread Audit; a forensic investigation into how four basic components transform from a shaggy, viscous mess into a hyper-shattered crust with a crumb that breathes. This is not about the romanticism of the hearth. This is about the cold, hard science of long-phase fermentation. You are not a baker; you are a site manager overseeing a biological construction project where carbon dioxide is the primary architect. Most home cooks fail because they lack the patience to let time do the heavy lifting. They want instant gratification, but gluten development is a slow-motion car crash of protein alignment. If you can operate a digital scale and resist the urge to meddle with the dough for eighteen hours, you are qualified for this audit. We are optimizing for maximum crust resonance and internal hydration without the physical labor of traditional kneading.
THE DATA MATRIX
| Metric | Specification |
|---|---|
| Prep Time | 10 Minutes |
| Execution Time | 18 to 24 Hours |
| Yield | 1 Large Boule |
| Complexity (1-10) | 2 |
| Estimated Cost per Serving | $0.28 |
THE GATHERS
Ingredient Protocol:
- 400g / 3.25 cups All-Purpose or Bread Flour
- 300ml / 1.25 cups Filtered Water (Room Temp)
- 8g / 1.5 tsp Sea Salt
- 1g / 0.25 tsp Active Dry Yeast
- 15ml / 1 tbsp Extra Virgin Olive Oil (Optional for crust sheen)
Section A: Ingredient Quality Audit:
The primary failure point in any No Knead Bread Audit is the enzymatic activity of the yeast. If your yeast has been sitting in a warm cupboard for six months, it is effectively dead on arrival. Test your yeast by blooming a pinch in warm water; if it does not aerate and foam within five minutes, discard it. Secondly, the mineral content of your water matters. Highly chlorinated tap water can inhibit yeast growth. Use filtered water to ensure the microbial environment remains hospitable. Finally, ensure your salt is non-iodized. Iodine can impart a metallic tang that ruins the delicate, nutty profile of a long-fermented dough. If your dough feels too viscous and refuses to hold any shape, your flour likely has a low protein content. Switch to a high-protein bread flour to provide the necessary scaffolding for the gas bubbles.
THE MASTERCLASS
1. The Initial Hydration Phase
In a large glass bowl, combine your dry ingredients before adding the water. Use a sturdy silicone spatula to mix until no dry flour remains. The goal here is not smoothness; it is total saturation. The dough will look like a shaggy, unattractive mass. Cover tightly with plastic wrap to prevent a skin from forming.
Pro Tip: Use a digital scale for this step. Volume measurements for flour are notoriously inaccurate due to settling. Precise mass ensures the hydration ratio stays at exactly 75 percent, which is the sweet spot for a holey crumb.
2. The Long-Phase Fermentation
Leave the bowl on your counter at room temperature (approximately 70 degrees Fahrenheit) for 18 hours. During this window, the yeast will infuse the dough with carbon dioxide while enzymes break down starches into flavorful sugars. The dough should double in size and be dotted with bubbles.
Pro Tip: If your kitchen is cold, the fermentation will stall. Use a thermal probe to check the ambient temperature. If it is below 65 degrees, move the bowl to the top of the refrigerator where the compressor generates gentle heat.
3. The Structural Fold
Gently tip the dough onto a floured surface. Do not degas it. Use a bench scraper to fold the edges toward the center, creating a rough ball. This organizes the gluten strands without expelling the precious air you have spent 18 hours cultivating.
Pro Tip: Minimize contact with your hands. The warmth of your palms can melt the delicate gas pockets. The bench scraper is your best friend here for maintaining the structural integrity of the dough.
4. The Final Proof and Pre-Heat
Place the dough on a piece of parchment paper and cover it with a towel for another 2 hours. Meanwhile, place a heavy Dutch oven into your oven and pre-heat to 450 degrees Fahrenheit. The pot must be screaming hot to trigger "oven spring."
Pro Tip: A cast iron Dutch oven acts as a heat sink. It mimics the intense, radiant heat of a professional deck oven, ensuring the bottom of the loaf does not remain soggy while the top burns.
5. The Thermal Execution
Carefully lower the parchment and dough into the hot Dutch oven. Cover with the lid and bake for 30 minutes. Remove the lid and bake for an additional 15 minutes to allow the Maillard reaction to darken the crust to a deep mahogany.
Pro Tip: Removing the lid allows steam to escape, which is essential for a crisp exterior. Use an infrared thermometer to check the crust temperature; you are looking for a surface that has reached at least 400 degrees.
Section B: Prep & Timing Fault-Lines:
The most common human error is the "Early Exit." If you pull the bread out because the kitchen smells good but the internal temperature hasn't hit 205 degrees Fahrenheit, the center will be gummy. Use a probe thermometer to verify the core. Another fault-line is the "Cold Start." If you do not pre-heat your Dutch oven for at least 45 minutes, the dough will stick to the bottom and the crust will be pale and leathery rather than shattered and crisp. Timing is your only real labor in this process; do not disrespect the clock.
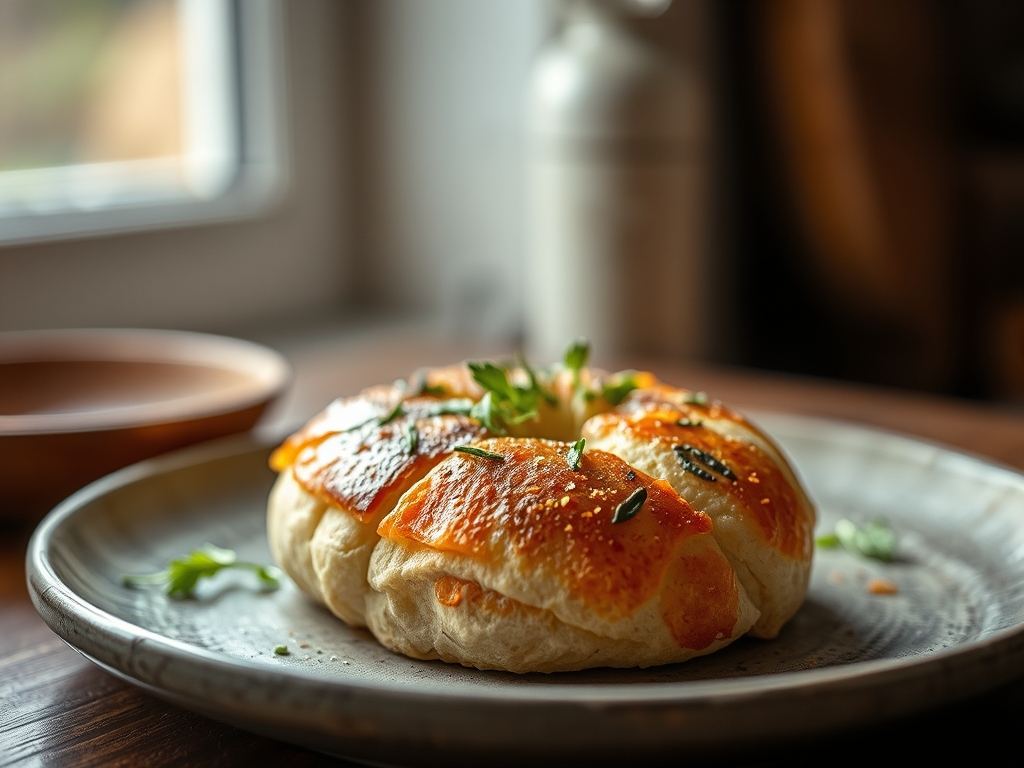
THE VISUAL SPECTRUM
Section C: Thermal & Visual Troubleshooting:
Referencing the Masterclass photo, your goal is a "blistered" exterior. If your loaf looks dull and matte, you likely didn't have enough steam trapped during the first 30 minutes. Ensure your Dutch oven lid fits tightly. If the bread is unevenly browned, your oven has hot spots; rotate the pot halfway through the lid-off phase. A "flat" loaf that didn't rise vertically suggests the dough was over-proofed or the water was too hot during the initial mix, killing the yeast before it could do its job. The visual cue for a perfect bake is "earring," where the score mark on top of the bread curls back like a crisp leaf.
THE DEEP DIVE
Macro Nutrition Profile:
A standard slice (approx. 50g) contains roughly 130 calories, 26g of carbohydrates, 4g of protein, and 0.5g of fat. Because of the long fermentation, the glycemic index is lower than store-bought white bread, as the yeast has already consumed much of the simple sugars.
Dietary Swaps:
- Vegan: This recipe is naturally vegan.
- Keto: Replace flour with a mix of almond flour, vital wheat gluten, and oat fiber (though the "no-knead" structure will change significantly).
- GF: Use a high-quality 1-to-1 gluten-free flour blend containing xanthan gum, though you must reduce hydration by 10 percent.
Meal Prep & Reheating Science:
To maintain the molecular structure, never refrigerate bread; it accelerates staling through starch retrogradation. Store at room temperature in a paper bag. To revive a day-old loaf, spray the crust lightly with water and place in a 350-degree oven for 5 minutes. This re-hydrates the starch molecules and restores the crunch.
THE KITCHEN TABLE
Why is my crust so hard to cut?
You have achieved a superior bake. Use a high-quality serrated bread knife. A hard crust is a sign of proper caramelization and moisture loss. If it is truly impenetrable, you likely overbaked the "lid-off" portion of the cycle.
Can I add herbs or cheese?
Absolutely. Fold in rosemary or sharp cheddar during Step 3. Do not add them at the start, as high salt or oil content in inclusions can interfere with the initial yeast activity and gluten development during the long soak.
Do I really need a Dutch oven?
Yes. The Dutch oven traps the steam escaping from the dough, which keeps the surface supple enough to expand. Without it, the crust sets too quickly, resulting in a dense, small loaf that lacks the professional "shattered" texture.
My dough didn't bubble after 18 hours. Why?
Your yeast is likely expired, or your kitchen is significantly below 60 degrees. Perform a "bloom test" with your yeast in warm water next time. If the yeast is alive, move the dough to a warmer micro-climate.

