

Listen up. If your kitchen does not currently smell like a sulfurous heaven collided with a French boulangerie, you are failing the fundamental audit of culinary excellence. We are talking about the Roasted Garlic Loaf; the absolute pinnacle of carbohydrate engineering. This is not just bread. It is a structural delivery system for caramelized allicin and molten lipids. When that crust shatters under a serrated blade, it should sound like a structural failure in the best way possible. We are hunting for that deep, mahogany exterior where the sugars in the garlic have undergone a complete Maillard transformation, fusing with the gluten matrix to create a piquant, umami-rich armor. Most amateur attempts result in a soggy, pale imitation that lacks the structural integrity to hold a smear of butter. Not today. We are here to optimize your dough hydration, calibrate your thermal output, and ensure that every single clove is rendered into a spreadable, golden paste. Prepare your workstations. We are about to execute a high-performance bake that will redefine your standards for savory excellence.
THE DATA MATRIX
| Metric | Specification |
|---|---|
| Prep Time | 45 Minutes (Active) |
| Execution Time | 3 Hours 15 Minutes |
| Yield | 2 Large Boules |
| Complexity (1-10) | 7 (Hydration Management) |
| Estimated Cost per Serving | $0.85 USD |
THE GATHERS
Ingredient Protocol:
- 500g / 4 cups Bread Flour (High protein content required)
- 375ml / 1.5 cups Filtered Water (Room temperature)
- 10g / 2 tsp Fine Sea Salt
- 5g / 1.5 tsp Active Dry Yeast
- 3 Whole Heads of Garlic (Fresh, tight papery skins)
- 30ml / 2 tbsp Extra Virgin Olive Oil
- 5g / 1 tsp Fresh Rosemary (Finely minced)
- 2g / 0.5 tsp Cracked Black Pepper
Section A: Ingredient Quality Audit:
If your garlic cloves show green sprouts in the center, discard them or meticulously remove the germ. That green sprout contains a bitter compound that will survive the roasting process and ruin the flavor profile. If your flour is "All-Purpose" rather than "Bread Flour," your Roasted Garlic Loaf will lack the tensile strength to trap the carbon dioxide produced during fermentation; result in a flat, dense disc. Fix this by adding 15g of vital wheat gluten if you cannot source high-protein flour. Finally, check your yeast. If it does not foam in lukewarm water within five minutes, it is biologically inactive. Do not proceed with dead leavening agents.
THE MASTERCLASS
Step-by-Step Execution:
1. The Allicin Softening Phase
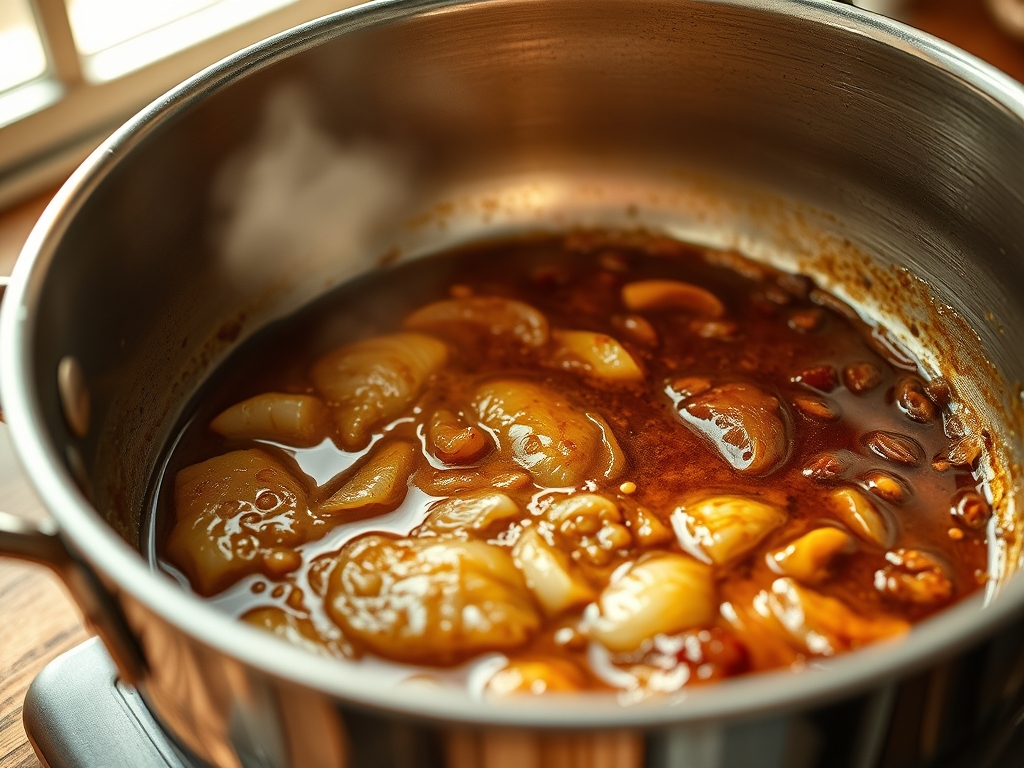
Slice the tops off the garlic heads to expose the cloves. Drizzle with olive oil and wrap tightly in foil. Roast at 200C / 400F for 40 minutes. You are looking for a viscous texture where the cloves turn into a golden paste.
Pro Tip: Use a digital scale to ensure your oil-to-garlic ratio is consistent. Roasting the garlic ahead of time allows the sulfurous compounds to mellow into sweet, complex sugars through the slow application of heat.
2. Autolyse and Hydration
In a large ceramic bowl, mix your flour and water until no dry streaks remain. Cover and let rest for 30 minutes. This allows the flour to fully infuse with moisture, making the dough easier to handle later.
Pro Tip: Use a sturdy bench scraper to clean the sides of the bowl during this phase. This ensures every gram of flour is hydrated and prevents "dry pockets" that create structural weaknesses in the crumb.
3. Yeast Integration and Primary Bulk Ferment
Dimple your yeast and salt into the hydrated dough. Squeeze the roasted garlic cloves out of their skins directly into the mixture. Add the rosemary and pepper. Fold the dough over itself repeatedly until the garlic is evenly distributed.
Pro Tip: Do not overwork the dough at this stage. You want to aerate the mixture while preserving the integrity of the larger garlic chunks. Use a saucier or small pan to slightly warm your water if your kitchen is below 20C to keep the yeast metabolic rate optimal.
4. The Stretch and Fold Sequence
Every 30 minutes for the next two hours, perform a series of four stretches and folds. This builds the gluten network without the mechanical stress of traditional kneading. The dough should become increasingly elastic and smooth.
Pro Tip: Wet your hands before handling the dough to prevent sticking. This technique maintains the high hydration levels necessary for that characteristic open crumb seen in professional-grade loaves.
5. Final Shaping and Proofing
Turn the dough onto a lightly floured surface. Use your bench scraper to tension the dough into a tight boule. Place it in a proofing basket or a bowl lined with a floured tea towel. Let it rise until it has increased in volume by 50 percent.
Pro Tip: The "finger poke test" is your best diagnostic tool here. If the indentation springs back slowly, the loaf is ready for the oven. If it snaps back instantly, it needs more time.
6. The Thermal Shock and Bake
Preheat a Dutch oven inside your oven to 245C / 475F. Carefully transfer the dough into the hot vessel. Score the top with a sharp blade to control the "oven spring." Bake covered for 20 minutes, then uncovered for 15 to 20 minutes.
Pro Tip: Removing the lid for the final stage is crucial to render the crust crispy. The steam trapped inside the pot during the first 20 minutes gelatinizes the surface starches, leading to that glossy, blistered finish.
Section B: Prep & Timing Fault-Lines:
The most common failure in the Roasted Garlic Loaf protocol is "under-proofing." If you rush the fermentation, the bread will burst uncontrollably in the oven because the CO2 has nowhere to go. Conversely, "over-proofing" leads to a collapsed loaf that looks like a deflated tire. If your kitchen is cold, use your oven with the light turned on as a makeshift proofing chamber. Temperature control is the difference between a professional audit and a kitchen disaster.
THE VISUAL SPECTRUM
Section C: Thermal & Visual Troubleshooting:
Referencing the Masterclass photo, your goal is a deep "tiger-skin" pattern on the crust. If your loaf is pale, your oven temperature is likely calibrated incorrectly; use an external thermometer to verify. If the garlic on the surface is black and bitter, you didn't tuck the cloves deeply enough into the dough during the shaping phase. For a dull, matte finish, you likely forgot to use a steam-trapping method like a Dutch oven. The visual cues of a successful bake include a distinct "ear" where the score mark was made and a hollow sound when the bottom of the loaf is tapped.
THE DEEP DIVE
Macro Nutrition Profile
Per slice (approx. 50g): 140 Calories, 3g Fat, 24g Carbohydrates, 5g Protein. The addition of roasted garlic provides significant manganese and Vitamin B6, though the primary value here is sensory satisfaction rather than caloric restriction.
Dietary Swaps
- Vegan: This recipe is naturally vegan. Ensure your flour is not fortified with animal-derived D3.
- Gluten-Free: Substitute with a high-quality 1:1 GF bread flour blend and add 10g of psyllium husk to mimic the gluten structure.
- Keto: This is a high-carb artisanal product. To make a keto version, you would need to replace the flour with almond and coconut flours, which will drastically change the texture.
Meal Prep & Reheating Science
To maintain the molecular structure of the crust, never microwave this bread. Reheat slices in a 175C / 350F oven for five minutes to re-crisp the exterior. For long-term storage, slice the loaf and freeze it in airtight bags. Toasting directly from frozen is the most efficient way to preserve the interior moisture while reviving the crust.
THE KITCHEN TABLE
Why is my garlic blue or green after baking?
This is a natural reaction between the sulfur in the garlic and trace minerals in the water or salt. It is safe to eat. To prevent this, use filtered water and high-quality sea salt during the initial mix.
Can I use pre-minced garlic from a jar?
Absolutely not. Jarred garlic is stored in citric acid, which will interfere with the yeast activity and provide a metallic, acidic aftertaste. The whole-roasted clove is the only acceptable method for this specific infrastructure audit.
My loaf is gummy in the center. What happened?
You likely sliced the bread while it was still hot. The starch retrogradation process continues as the bread cools. If you cut it too early, the steam escapes and the crumb collapses into a gummy mess. Wait two hours.
How do I get more "bubbles" in the crust?
This is a result of cold fermentation. After shaping the loaf, place it in the refrigerator for 12 to 24 hours. This slow chill allows for complex flavor development and the formation of those coveted micro-blisters on the crust.

